Emergency signaling: build the stack before you need rescue.
A phone, whistle, flashlight, mirror and personal locator beacon solve different parts of the same problem. Practice the order now: alert someone, report a usable location, stay visible and preserve the backup.
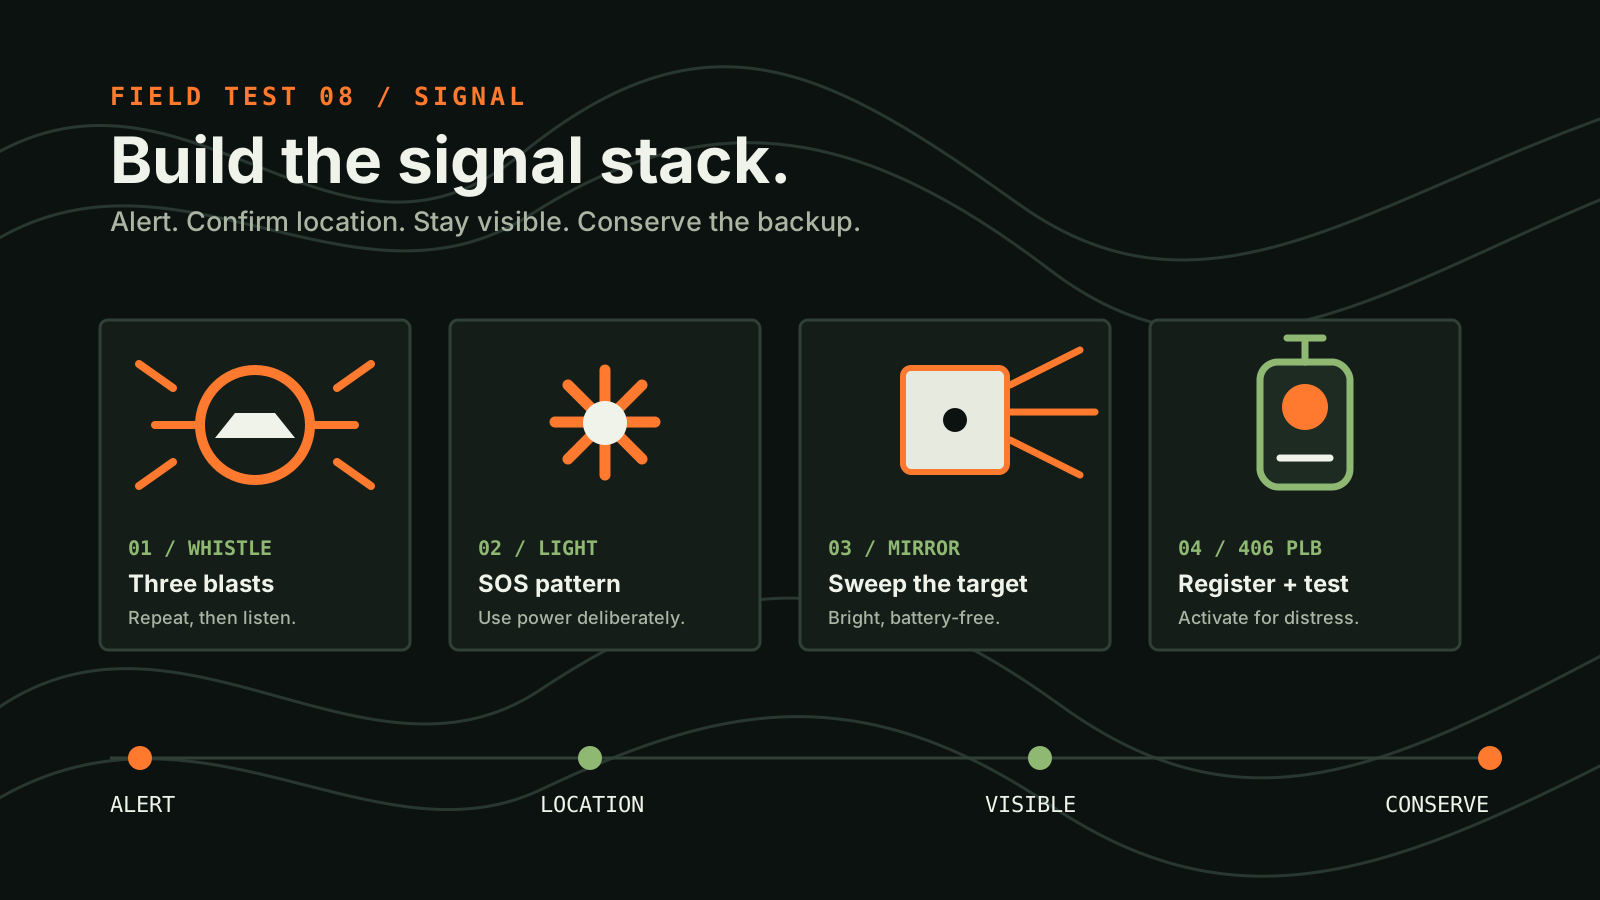
The signal stack answers four questions
Outdoor signaling advice often becomes a shopping list. Search and rescue needs a chain of useful information instead: does anyone know help is required, where should the search begin, can responders distinguish you from the terrain, and can your signal keep working while weather and time change?
The National Park Service Outdoor Emergency Plan starts with a trip plan left with a trusted contact, then recommends a whistle and mirror. If you become lost and cannot safely retrace, it directs you to call 911 when possible, give coordinates and surroundings, stay put unless there is an immediate threat, make yourself visible and conserve resources. NOAA's Search and Rescue Satellite Aided Tracking program adds another layer: a registered 406 MHz personal locator beacon can send a coded distress alert into the national search-and-rescue network when cellular service is absent.
| Layer | What it does | Main limit |
|---|---|---|
| Trip plan and trusted contact | Starts the overdue-person process with route, party and return time. | Fails when the plan is vague or the contact does not know whom to call. |
| Phone or two-way communicator | Can explain the emergency, location, injuries and hazards. | Coverage, subscription, sky view, battery and device damage. |
| Registered 406 MHz PLB | Sends an emergency alert and beacon identity to the satellite-aided SAR system. | One-way distress alert; activation is for real distress, and rescue is not immediate. |
| Whistle, light and mirror | Help nearby people or arriving responders hear or see your position. | Range depends on terrain, weather, daylight, line of sight and human attention. |
| Visible shelter or marker | Keeps signaling while you rest and protects your survival margin. | Must not create a new hazard or damage restricted resources. |
Step 1: write the activation decision
Do not wait for an emergency to debate what counts as one. Write a short trigger for the trip: a serious injury, life-threatening illness, inability to move out safely, dangerous exposure, or being lost without a safe retrace. If you can contact 911 or the responsible land manager, follow the dispatcher's instructions. If the situation is grave and communication is unavailable, use the emergency device intended for that environment.
A PLB is not a convenience button or a substitute for ordinary trip changes. NOAA says a 406 MHz PLB is manually activated and designed for an individual in a remote environment. The coded alert can be linked to registration information, which helps authorities understand who and what they are looking for. NOAA also warns that even a brief unintended transmission can create a false alert.
Keep the beacon on the person, not buried in a group pack that may be separated. Everyone in the party should know where it is and how to expose the antenna, activate it and read its indicators from the exact manual. Do not assume the person who bought it will remain conscious or able to move.
Step 2: make the location report before the battery matters
The most useful practice is a 30-second location report. The NPS emergency plan tells callers to provide GPS coordinates when available, the trail or starting area, last known location, visible landmarks, clothing colors, equipment and medical conditions. Add group size, injuries, weather, shelter and immediate hazards.
The 30-second report
- Who: name, party size and callback or device information.
- What: injury, illness, lost status or hazard; state what makes it urgent.
- Where: coordinates with format and datum when known, trail or drainage, elevation, last known point and visible landmarks.
- Conditions: weather, clothing, shelter, fire, water, steep terrain or moving hazards.
- Plan: whether you are staying put and which signals responders should look or listen for.
Coordinates without context can still be mistyped, stale or misunderstood. Read them back slowly. Say whether they are latitude and longitude in decimal degrees or another format. If the device allows two-way messaging, answer questions and keep the device positioned as instructed. If dispatch tells you to do something different from a generic field guide, follow dispatch.
Pair this step with the compass known-line check and the lost-hiker first-30-minute plan. Signaling is strongest when the group can describe the last confirmed point instead of reporting a guessed location.
Step 3: practice the whistle without creating an alarm
NPS and current U.S. Forest Service guidance use three whistle blasts as a distress signal. A whistle carries farther than a normal voice in many settings and costs less energy than repeated yelling. The useful drill is not maximum noise; it is access, rhythm and listening.
- Attach the whistle where either hand can reach it without removing the pack. Avoid a neck cord that can snag.
- Tell the group and trusted contact that three blasts mean distress for this trip.
- In a controlled non-emergency setting where the signal cannot be mistaken for help, practice one quiet demonstration or simulate the rhythm without sounding it: three blasts, a pause, then listen.
- Test whether gloves, cold fingers, a face covering or an injury prevents access.
- Give each person a whistle. A single whistle attached to the missing person's pack does not help a separated partner.
Do not blow continuously. A repeating group with a listening interval makes the pattern easier to recognize and gives you a chance to hear a response, aircraft or rescuers. Dense forest, wind, rushing water and terrain can shorten audible range, so the whistle is one layer rather than proof that someone heard.
Step 4: make light last through the search window
The NPS emergency plan recommends flashing SOS: three short flashes, three long flashes and three short flashes. It also cautions that flashlight use drains batteries. Practice the controls in darkness before the trip. Many headlamps hide the strobe behind a long press or cycle through modes that are difficult with gloves.
Record the battery type, age, cold-weather plan and a conservative usable-time estimate from the maker. Carry spare batteries or a second light in a way that prevents accidental activation. A headlamp preserves both hands for shelter and first aid; a separate small light gives redundancy when the main lamp fails.
At night, signal toward a likely search route, open sky or observed responder, then pause and listen. Avoid staring into a partner's eyes or blinding a driver. Keep enough power for essential movement, medical care and shelter tasks. Search mode and survival mode draw from the same battery.
Step 5: aim the mirror instead of waving it
A signal mirror is bright, light and battery-free, but only when sunlight and line of sight cooperate. The NPS recommends it for alerting aircraft and helicopters. A purpose-built mirror with an aiming aid is easier to direct than a random reflective object.
- Hold the mirror close to the face and find the reflected-light spot on a nearby surface or your other hand.
- Use the aiming instructions for the exact mirror to place the flash on a distant practice target, never a moving aircraft, roadway or occupied building during a drill.
- Sweep slowly across the target area rather than flickering everywhere.
- Repeat in a safe location with gloves and from the body position an injured person could manage.
In an actual emergency, direct flashes toward an observed search aircraft or responder, then continue making your site visible. A mirror cannot send your identity or condition, and cloud, shade, vegetation and terrain can remove the beam. Its strength is local confirmation after the alert has started a search.
Step 6: register and inspect a 406 MHz PLB
NOAA states that 406 MHz emergency beacons carry a unique digital identification code. When the beacon is registered, that code connects the alert to owner and trip information that search-and-rescue authorities can use for verification. Some PLBs include a GNSS position in the alert, improving the initial search location; the 406 alert system also supports a low-power homing signal for responders nearby.
Registration is part of readiness, not paperwork for later. Confirm that the owner, emergency contacts, phone numbers, vessel or activity notes and device identifier are current. Tell emergency contacts what trip information they may be asked to confirm. A contact who does not recognize the beacon registration can slow verification.
Inspect the case, antenna, seals, battery expiration and mounting method according to the manual. Use only the approved self-test procedure and interval. Do not activate a live distress alert as a demonstration. If a beacon is activated accidentally, follow the manufacturer and NOAA instructions to report the false alert promptly rather than hoping no one noticed.
Step 7: make the site easier to find
After alerting, the NPS plan advises staying put unless there is an immediate threat to life. Moving can expand the search area and make coordinates stale. Choose the safest nearby position with shelter, a view of likely search approaches and room to display a high-contrast marker. Do not move into avalanche paths, flood channels, exposed ridges, unstable trees or lightning danger for visibility.
Lay out bright shelter fabric or clothing in a large simple shape when it can be seen from above. Keep the marker secured against wind. At night, place a light where it is visible without sacrificing the light needed for medical and shelter tasks. Note any forced movement—time, direction, reason and destination—on the ground and in messages.
Fire is not a default signal. NPS warns against building one during high fire risk or wildland fire season. Follow current restrictions and never create a second emergency. A bright ground marker, whistle, light and mirror can be practiced without ignition.
Run the 20-minute field drill
Choose a familiar permitted site near home in safe weather. Tell everyone nearby that this is a silent simulation, and do not transmit, call emergency services, shine at aircraft or sound a distress pattern. One person draws a scenario card while another starts a timer.
| Minute | Task | Evidence to record |
|---|---|---|
| 0–3 | Recognize the emergency and choose the alert method. | Trigger stated clearly; device reached without unpacking. |
| 3–6 | Build the location report. | Coordinates, format, landmark, party, injury and hazards read back. |
| 6–10 | Set the stay-put site. | Immediate hazards checked; shelter and visible marker placed. |
| 10–14 | Demonstrate whistle, light and mirror procedures silently. | Three-blast rhythm, SOS sequence and mirror aim explained. |
| 14–17 | Inspect the PLB or messenger. | Registration, battery, manual, self-test date and access confirmed. |
| 17–20 | Write the failure log. | Only observed delays, confusion, missing information and access failures. |
Run the drill once in daylight and once after dark without introducing real risk. Add gloves, rain protection or the actual group pack on a later repetition. Stop if weather, terrain, traffic or other people could turn the rehearsal into a hazard or mistaken emergency.
Score the system, not the gadget
- Alert: Could the party reach a working method and explain when to use it?
- Location: Could two people read the same coordinates and name the same last known point?
- Access: Were whistle, light and beacon reachable with the pack on and one hand limited?
- Recognition: Did everyone know three whistle blasts and the SOS light pattern?
- Registration: Were beacon identity, emergency contacts and battery date current?
- Visibility: Could the group create a safe high-contrast marker without moving far?
- Endurance: Was there a plan for battery, cold, shelter and a delayed response?
- Handoff: Did the trusted contact have route, vehicle, party and overdue instructions?
Fix failures with practice, placement and written information before buying another device. A premium communicator at the bottom of a pack is weaker than a modest system everyone can reach and operate. Repeat the drill when the route, season, group, subscription, phone or emergency contact changes.
Questions readers ask
What is the distress signal with a whistle?
National Park Service and U.S. Forest Service guidance use three whistle blasts. Repeat the group, pause and listen rather than blowing continuously. Local instructions and organized activities may use their own codes, so learn them before the trip.
Does a PLB replace a whistle and mirror?
No. A registered 406 MHz PLB can alert the search-and-rescue system, while a whistle, light and mirror help nearby people or responding crews locate your exact position. Each layer covers a different failure.
Can I practice by activating the beacon?
No. Use only the manufacturer-approved self-test. A live alert is for distress and can launch a response. Keep registration current and teach the party the physical activation sequence from the manual without transmitting.
Sources checked
- National Park Service: Outdoor Emergency Plan, including the call, stay-put, whistle, SOS light, mirror and visibility steps.
- National Park Service: Hiking Safety at Devils Postpile, recommending both audible and visual signals.
- National Park Service: Search and Rescue Policy at Guadalupe Mountains, on knowing the operation and limits of handheld signaling devices.
- U.S. Forest Service: Know Before You Go recreation checklist, including the three-blast whistle signal.
- NOAA SARSAT: 406 MHz Emergency Distress Beacons, on PLB purpose, registration, alerting and homing.
- NOAA SARSAT: Frequently Asked Questions, on 406 MHz beacon identity and location protocols.
- NOAA SARSAT: Plan Your Adventure, on remote communication and the national SAR network.
Reviewed October 28, 2026. Device features, subscriptions, registration records, closures and emergency contacts change. Verify current land-manager instructions and the manual for the exact device before every trip.